
Adam Horsman

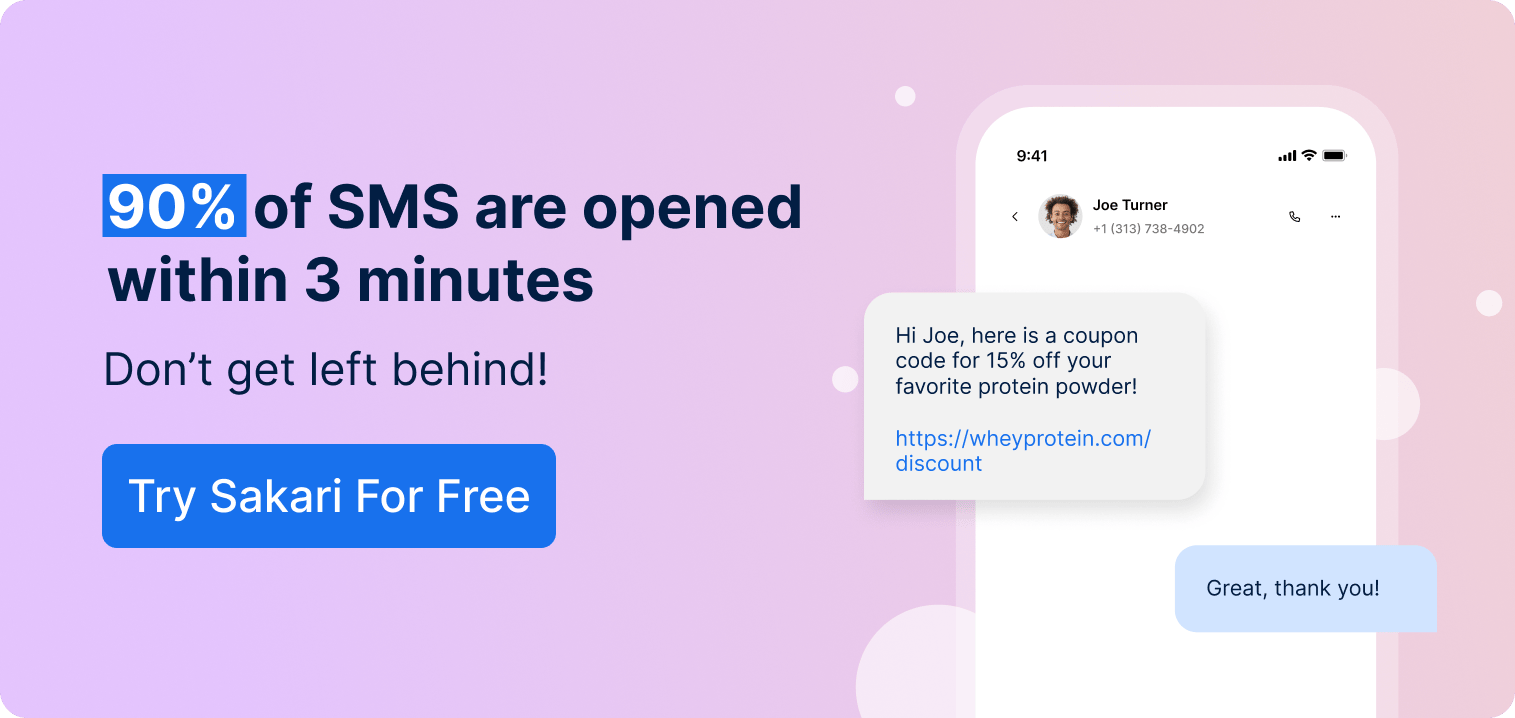
Autoresponders are one of the most powerful tools SMS has to offer. By automating SMS replies to subscribers’ queries and keywords, autoresponders allow companies to respond to customers’ questions without taking up valuable time.
With HubSpot integration, autoresponder setup is easy. This guide’ll explain the process and how to tailor Sakari capabilities to your business’ specifications. First, we’ll discuss what autoresponders are and how they work. Then, discuss navigation. Finally, we’ll explain how to create an autoresponder with workflows.
What Are Autoresponders?
An autoresponder is a programmable sequence of keyword replies. In summary, a subscriber sends a text, the autoresponder reads it, and the autoresponder replies based on your specifications. There are many ways to use autoresponders. With creativity, companies can streamline processes, boost leads, and heighten conversions. Here are a few possibilities.
- Welcome Messages: Say “hello” to new subscribers and customers with a heartfelt SMS greeting.
- Confirmations: Make sure subscribers remember appointments with a text reminder, whether it’s for a house showing, a haircut, or a demonstration.
- Answer Question: With some precise programming, autoresponders can answer common questions.
- Follow-ups: Keep leads engaged through follow-up texts.
- Feedback Requests: Constructive criticism is essential to improvement. Ask for critique on a medium they’ll read.
- Coupon Codes: Have enthusiastic customers? Reward their interest with discounts and sales updates.
There are many more methods to leverage autoresponders. Find one that suits your business best and implement it through Sakari HubSpot integration.

Take Advantage of Texting Technology with Sakari and HubSpot
SMS is the best method for communicating effectively and efficiently with customers and employees. The expansive Sakari platform of SMS tools allows businesses an economical but scalable way to leverage the power of texting, with features like two-way texting, software integrations, and more.
Want a hands-on demo? Book a demonstration with our experts today.
Navigating to HubSpot Workflows
First, let’s talk about how to get where you need to go. On HubSpot, autoresponders are designed through workflows. This tool allows you to tell software how to respond to an event, such as receiving a text, getting an email, and so on. It offers an easy-to-use visual interface rather than a bunch of code. To get to workflows on HubSpot:
- Go to the HubSpot website.
- Log in with your account information.
- From the dashboard, click on “Automation” and then “Workflows.”
Workflows allow you to program autoresponders with ease. All you have to do is tell it what to do. Now that you’re here let’s get started with our autoresponder.
4. Click the “Create workflow” button at the top-right corner of the page. A drop-down menu should appear. Then, click “From scratch.” We’re onto a new page now.
5. Click “Contact-based.” Keep the settings on default. They should be on “Blank workflow.” Next, click the “Next” button at the top-right corner of the page.
From here, we’ll be able to program our very own autoresponder. Exciting stuff!
Setting Triggers for the SMS Autoresponder
Setting an autoresponder starts by declaring what event (or “trigger”) must be responded to. Triggers are events that activate a response (in this case, an SMS). In other words, they are the cause to an effect. HubSpot offers a myriad of options, but we’re going to be focusing on SMS only.
6. Click “Set up triggers.” It’s an orange box at the center of the screen. It’ll open up a menu on the right side of the screen.
7. Click “Sakari SMS: SMS Received.” This means that upon receiving a text, the autoresponder will respond to that text. Next, click “Message Received ID” or “ Message Received.”
9. Select an appropriate category and add keywords or phrases. For example, input keywords like “STOP” in the “Equal to any of” field. They count as values in this context.
Pro Tip: You can also implement responses to invalid responses through the “doesn’t contain any of” field.
10. On the “Re-enrollment” page, click the re-enrollment button to allow subscribers to re-enter the workflow once it’s completed. Whether this is necessary depends on your autoresponder. For example, if the autoresponder is sending a welcome message, it should only be sent once. Re-enrollment should be turned off in this case. Alternatively, if the subscriber may ask the autoresponder multiple questions, switch it on.
11. Click “Save.” Doing so adds this trigger to the workflow.
All of these steps create a trigger that activates a response. Once you’ve done that, we’re going to designate a response.
Automating the Response
The next stage of setting up an autoresponder is creating SMS replies. Sakari allows a wide range of customization options, allowing senders to tailor texts to their business. This comes with a higher learning curve, but it’s easy to master.
13. Click the + sign. It’s below the trigger you just made. A menu should appear. Next, search for the Sakari category and click “Send SMS.”
14. Fill out the required fields.
This section requires further explanation, so we’ll go into more detail. Consider reading our Understand the HubSpot “Send SMS” Workflow Action Options article for an even more nuanced guide.
- Phone Number: This is the phone number of whoever gets a text from the autoresponder. It should correspond to how your numbers are defined and categorized in HubSpot. You’ll almost certainly want to use a “Contact token.” To add one, click “Contact token.” Use a phone number token or mobile phone number token.
- Message: This is where you’ll create your automatic reply. You can use a mix of static (i.e., words and phrases) and contact-token properties (such as first name) to customize your message for every subscriber. To use these properties, click “Contact token.” It contains many ways to personalize texts, such as by first name. Just click the option to add it to the message.
Pro Tip: Make sure to spell-check it and use our SMS length calculator to ensure it’s not too many segments long. Leave it a little room in case contact tokens are long.
- Media: For senders using image messaging (MMS), this is where you attach pictures. Only users in the United States and Canada can use this feature. Supported image formats are .jpg, .png, and .gif. Images can be attached in the following ways.
Attach a URL like https://sakari.io/wp-content/uploads/sakari-logo-350×100.png or something similar.
- Message Type: Pick between “Marketing” (like discount codes) and “Transactional” (such as shipping confirmations and reminders). SMS replies marked as “Marketing” will have an opt-out suffix like “Reply with STOP to unsubscribe,” while those marked “Transactional” won’t.
- Run As: This field defines the phone number used when you have multiple numbers on your account. Generally, this field is left blank. Learn more here: HubSpot Run As Workflow Field.
- Additional Contact Owner Attributes (JSON): We recommend leaving this blank. This field allows senders to text detailed contact information using JSON. Our support article, How to Add HubSpot Additional Contact Owner Attributes (JSON), is a detailed overview and tutorial.
- 15. Click “Save” when you’re done. There’s only one step left!
Review and Turn On Your SMS Autoresponder with HubSpot
Now, all you need to do to review your work. This is always an important step: we all make mistakes.
16. Click “Review and publish.” It’s an orange button at the top right of the workflows screen.
Pro Tip: We best not to select enroll existing contacts. It will likely lead to some unwanted effects.
17. Read over everything. There will likely be many features your autoresponder isn’t using, but this is appropriate for this use case. Still, you can take advantage of more HubSpot features if you wish to do so.
18. Click “Turn on.”
The autoresponder is now active and able. This is only the beginning of your texting automation adventures.
Fine Tune Your SMS Autoresponder
This guide is focused on creating a bare-bones texting autoresponder. If you’re interested in adding some complexity, browse our support site and see what sorts of new autoresponder capabilities you can introduce. Alternatively, browse our blog and learn more about SMS for ideas and inspiration.

Award-winning performance