
Adam Horsman
How-To Guide | HubSpot
With the creation of custom reports for HubSpot SMS reporting metrics, you can analyze records and activities in your HubSpot account across almost any dimension. The focus on this post will be the creation of three custom reports to track outbound text messaging performance directly in your HubSpot account.
In this article, we provide a step-by-step guide to creating HubSpot custom reports for your Sakari SMS text messaging campaigns. The reports will use the HubSpot text messaging integration from Sakari.
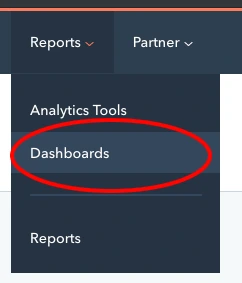
How to Create HubSpot Text Messaging Custom Dashboard Reports


1. HubSpot Account
2. Sakari SMS Account
Sakari is the HubSpot text messaging service we’re using to send text messages in HubSpot. If you don’t have an account, sign up for a free trial of Sakari here.
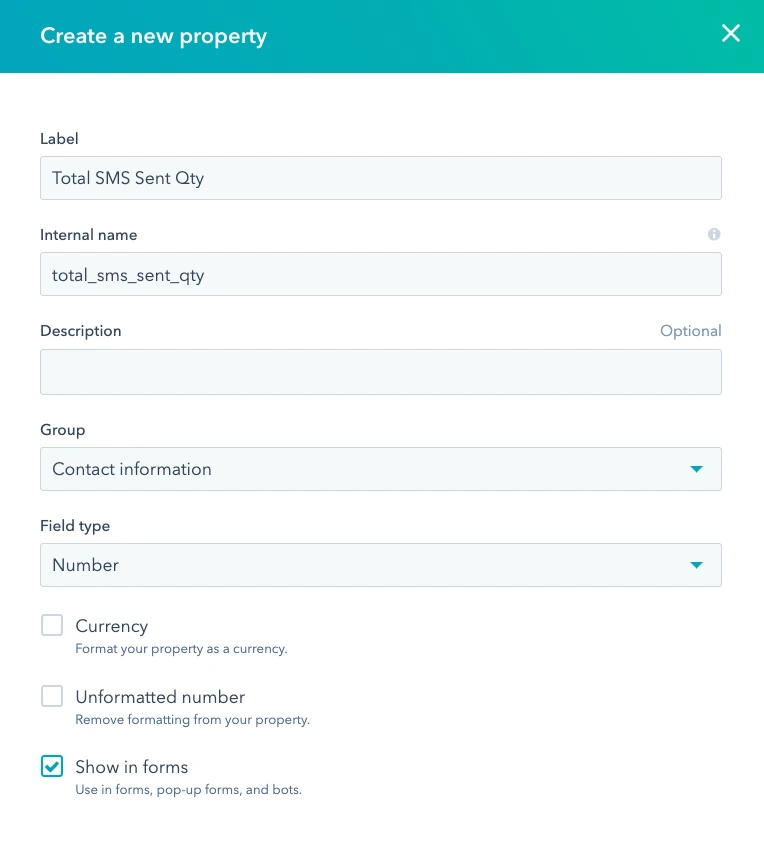
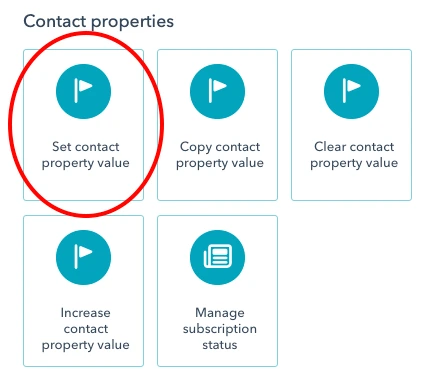
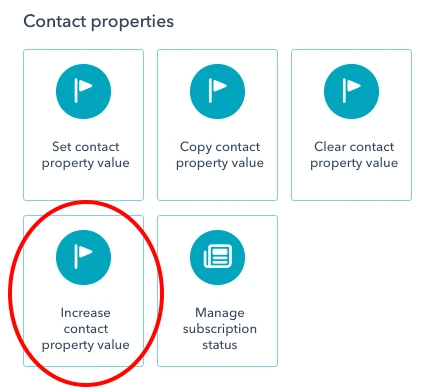
We need to create two new custom HubSpot properties to measure our text messaging history. You can call these whatever you like, but we’ve named them:
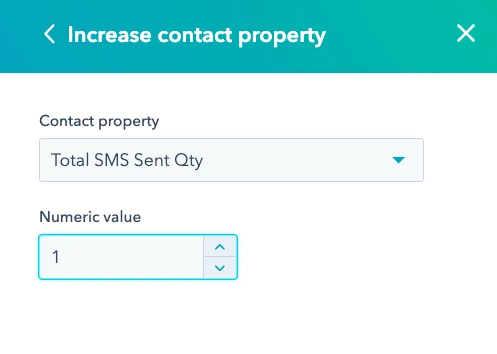
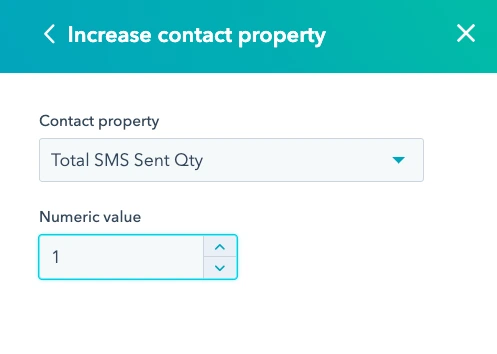
- Total SMS Sent Qty – this is a number field that will measure the total number of text messages sent to a HubSpot contact.
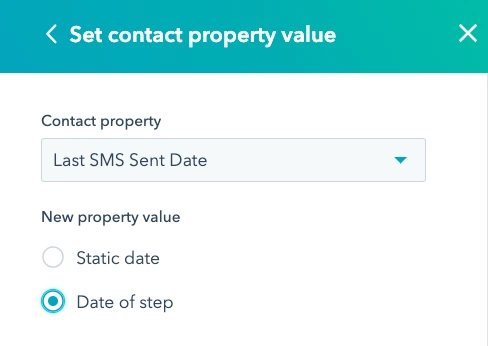
- Last SMS Sent Date – this is a date field that will indicate the last date a text message has been sent to a contact.
Custom Property #1 - Total SMS Sent Qty Custom Property
- Label – Total SMS Sent Qty
- Internal Name – [populated automatically]
- Description – [optional]
- Field Type – Number (select from the pulldown list)
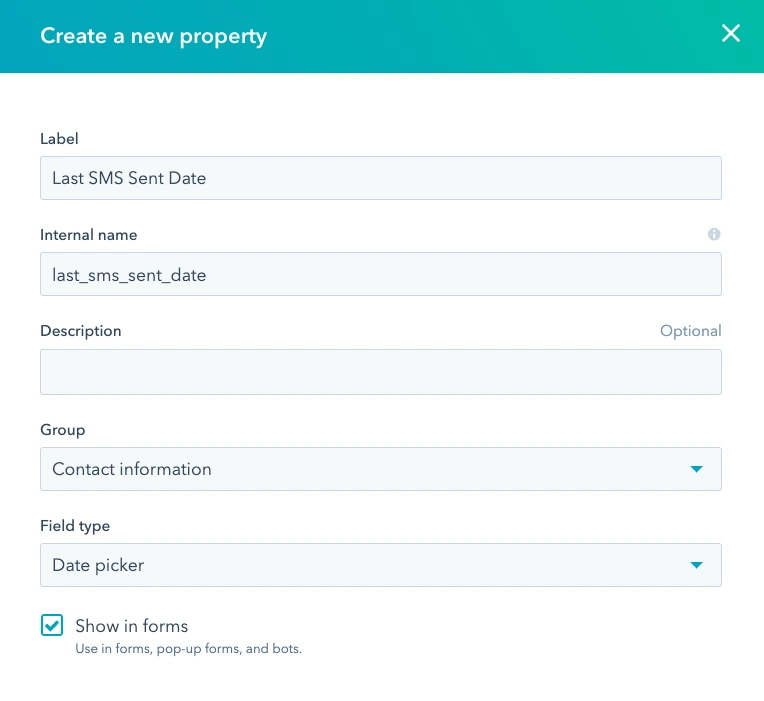
Custom Property #2 - Last SMS Sent Date Custom Property
- Label – Last SMS Sent Date
- Internal Name – [populated automatically]
- Description – [optional]
- Field Type – Date picker (select from the pulldown list)

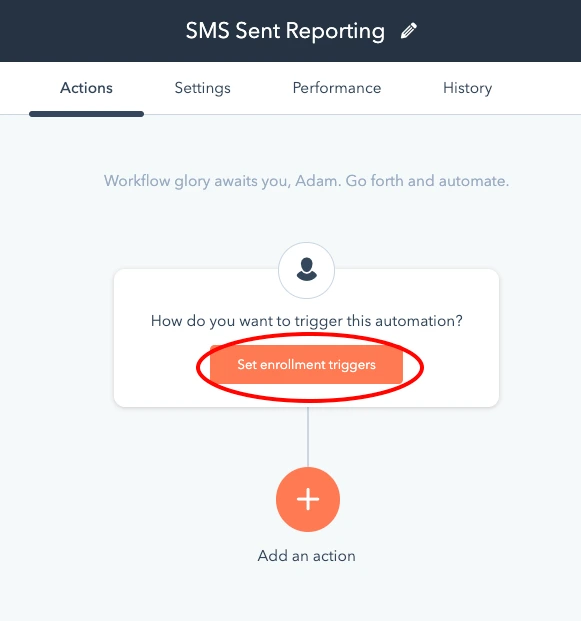
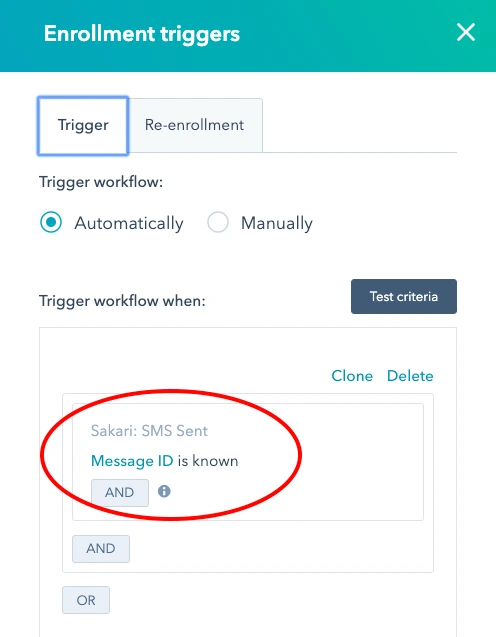

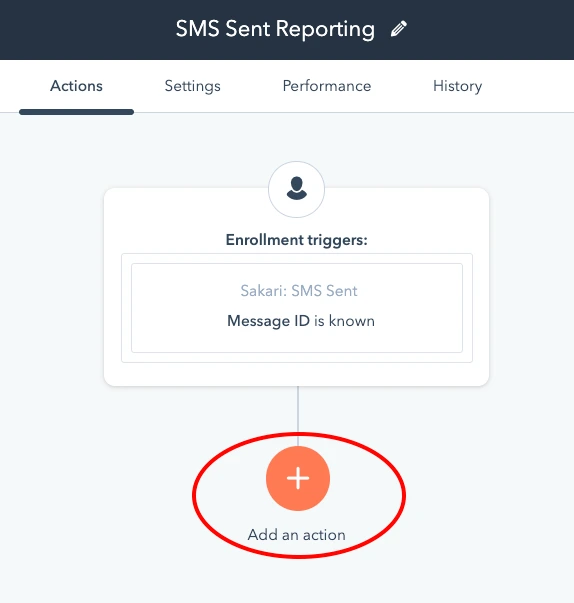
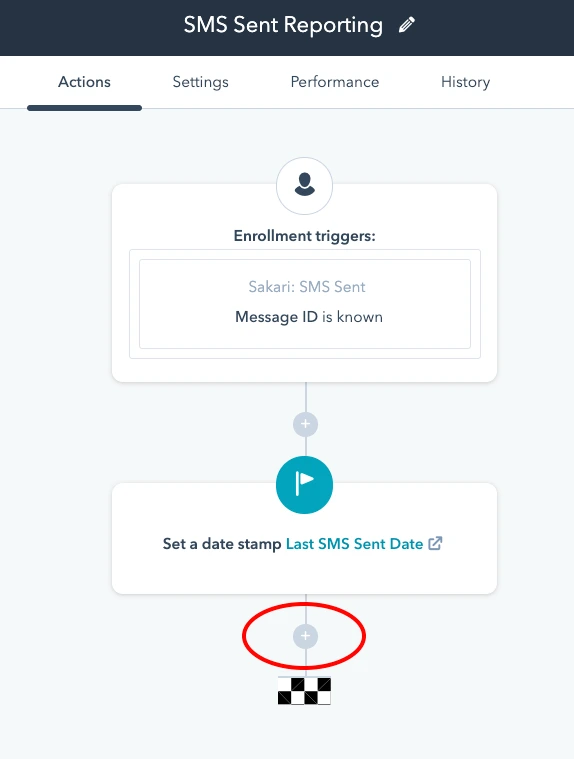
Name Workflow and Turn it On
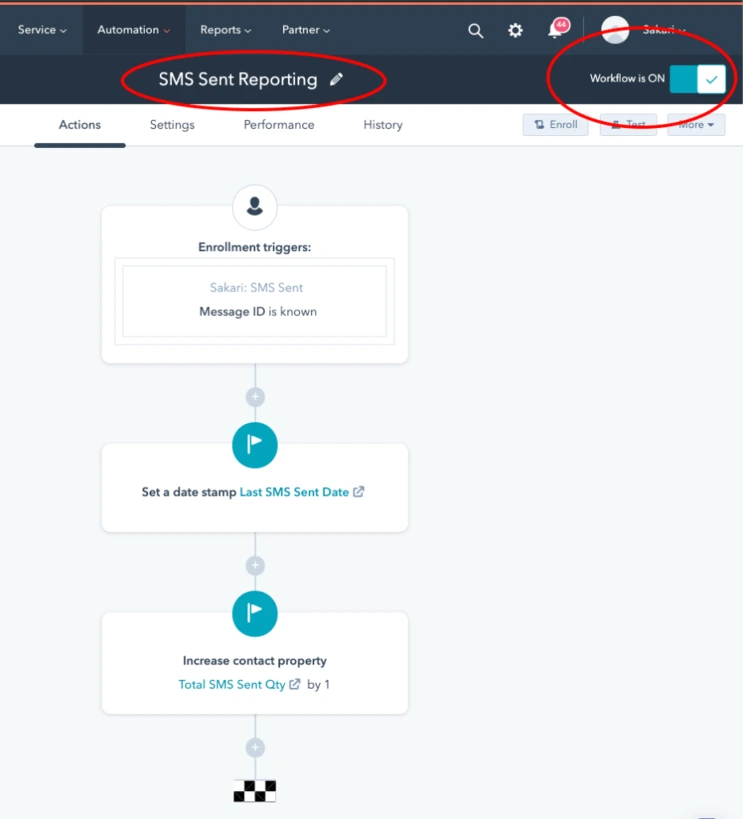
The steps outlined in Step 7 will be repeated when creating all three of the custom HubSpot reports.

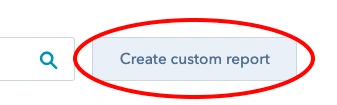
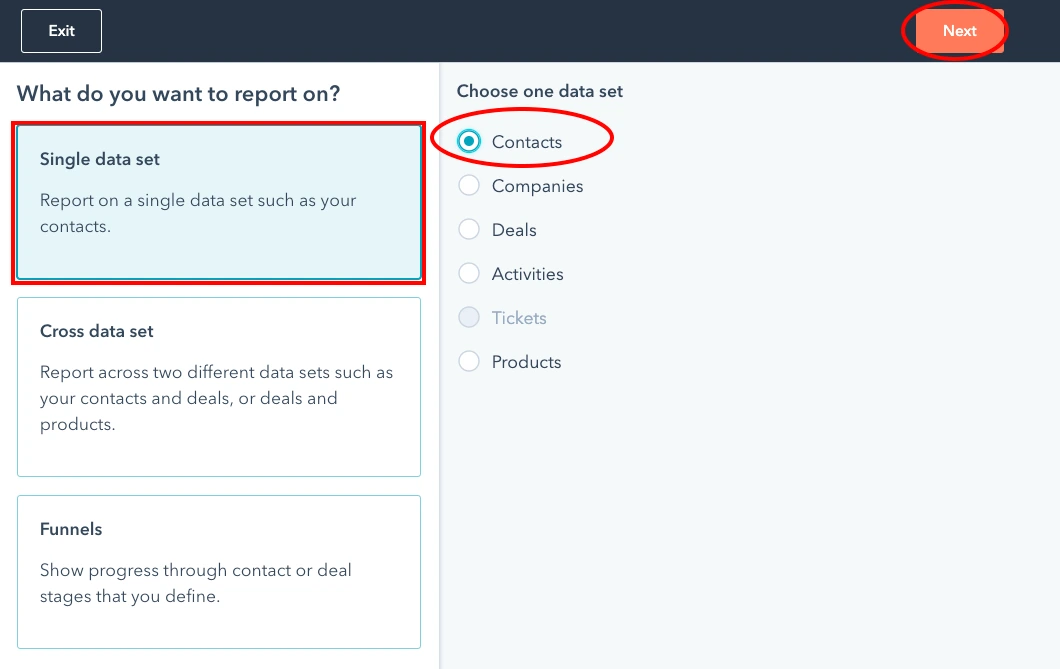
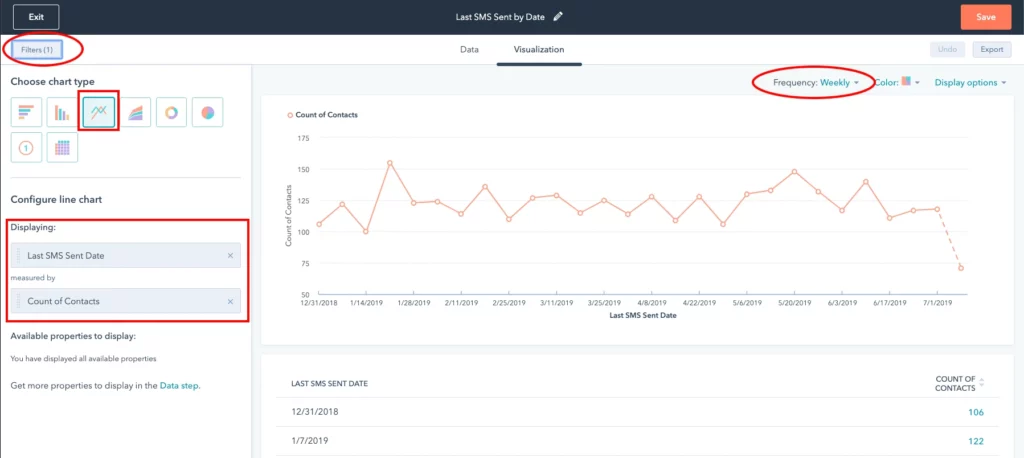
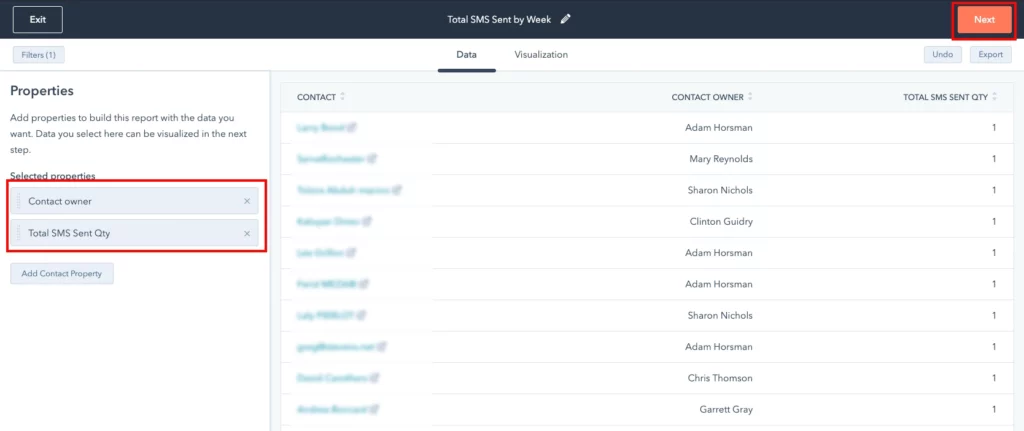
Creating the Report
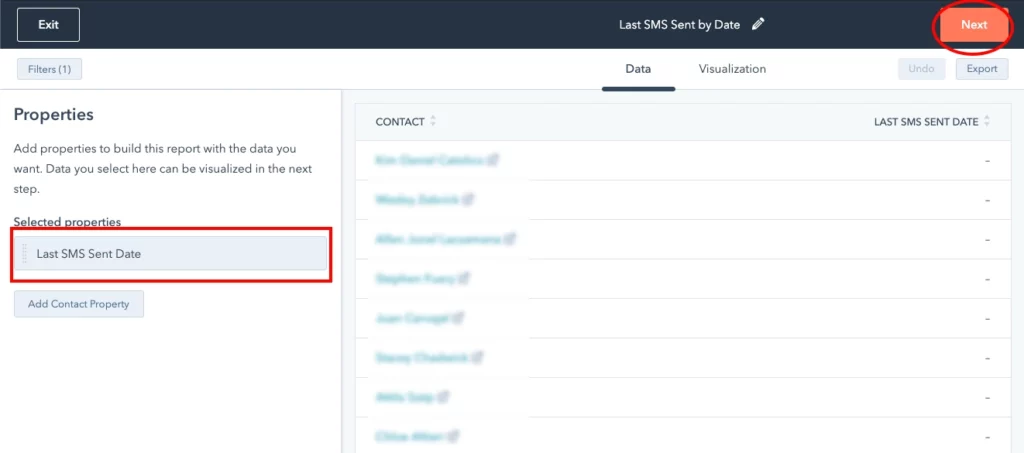
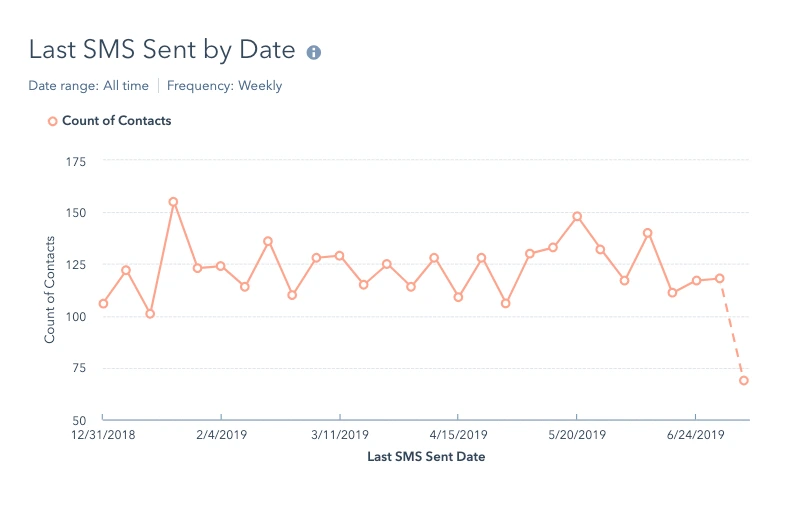
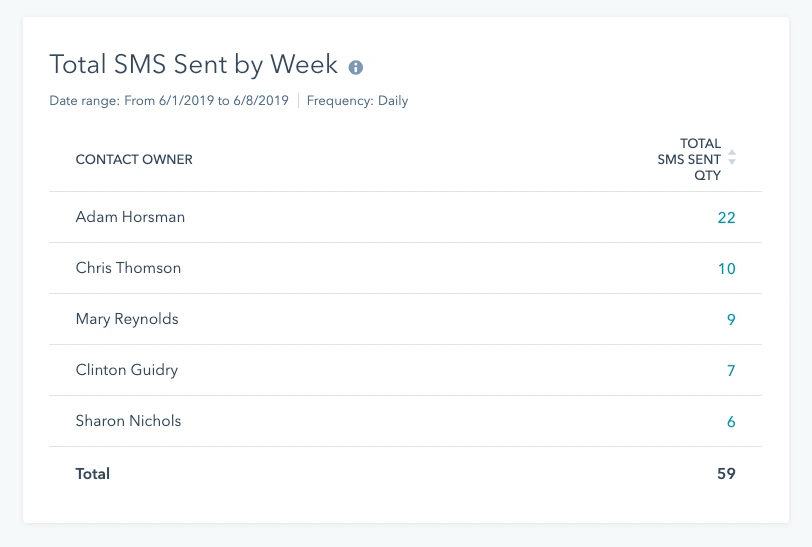
- Filters – use a time range of your choice
- Chart Type – line
- Frequency – weekly
- Configuration – Configure the chart to display Last SMS Sent Date measured by the Count of Contacts
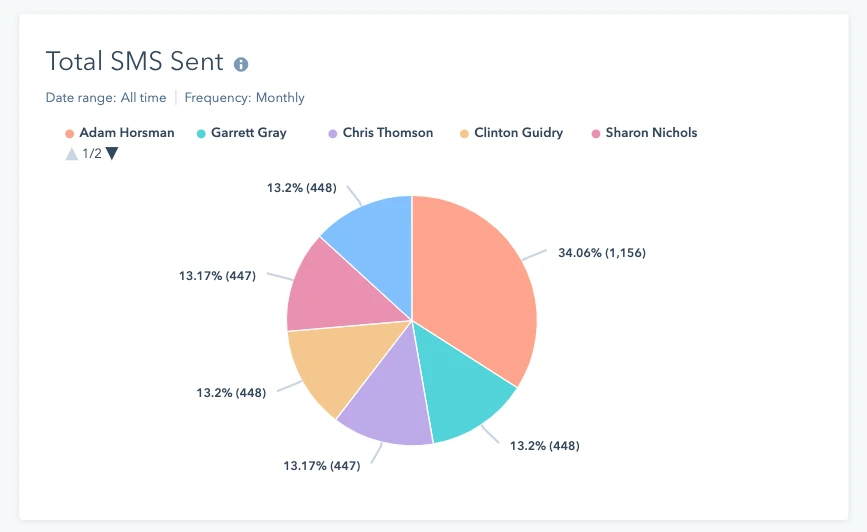
Creating the Report
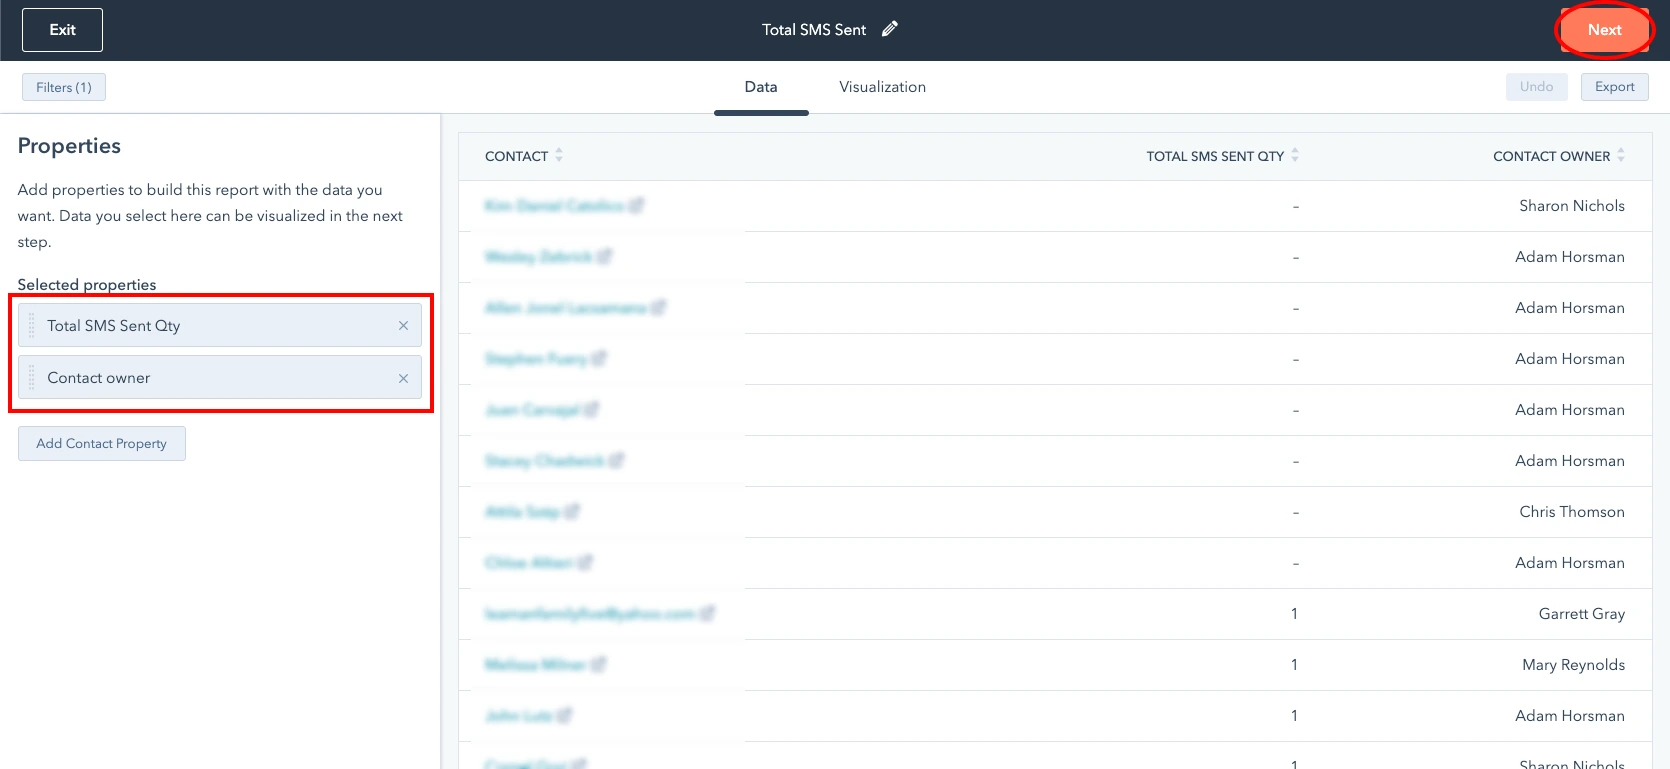
- Filters – use a time range of your choice
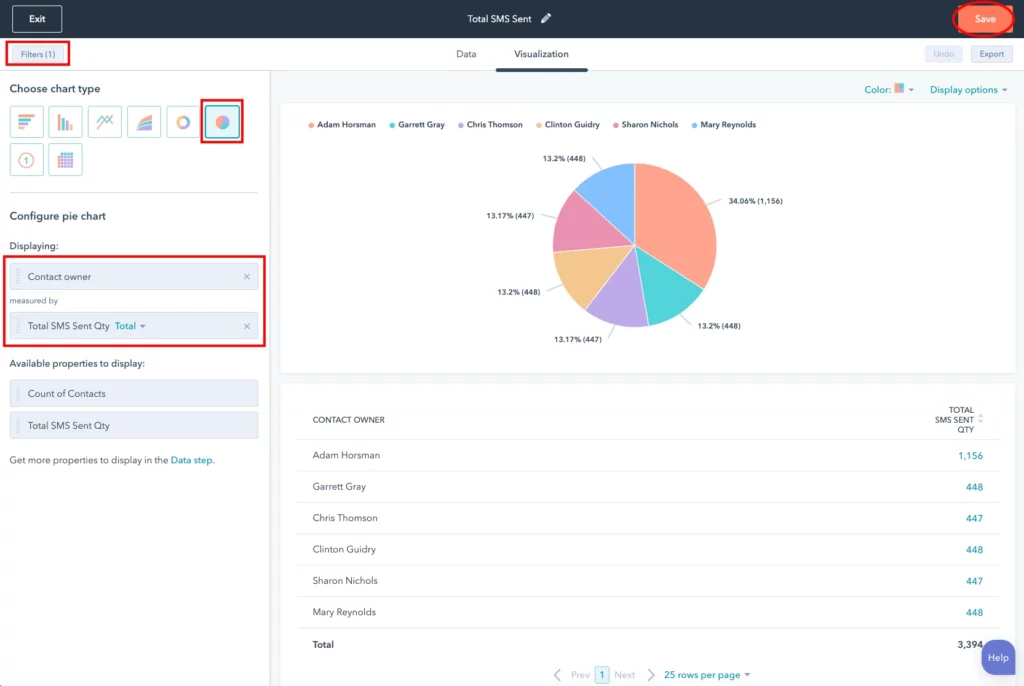
- Chart Type – pie
- Configuration – Configure the chart to display the Contact Owner measured by Total SMS Sent Qty [Total]
Creating the Report
- Filters – use a time range of your choice
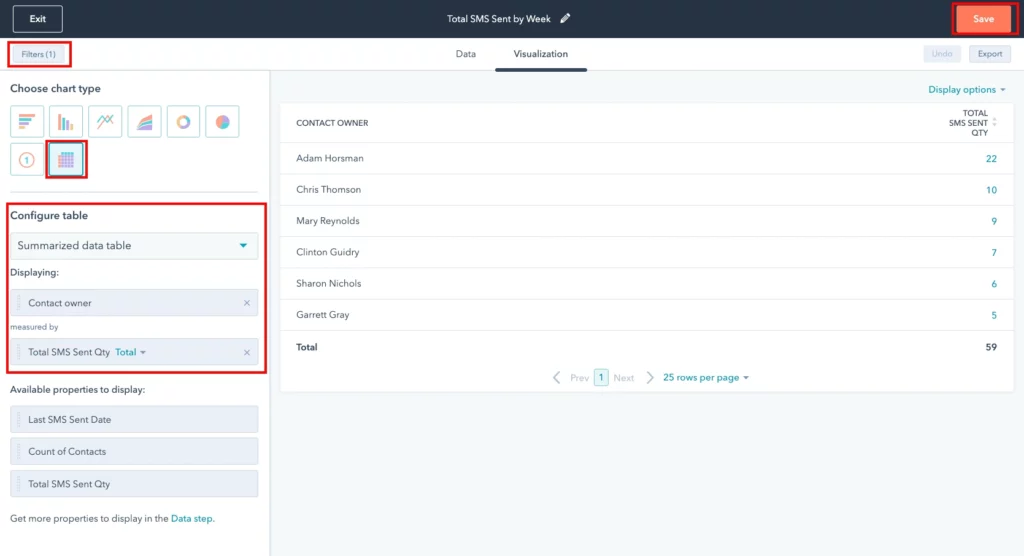
- Chart Type – table
- Configuration – Configure the table as a summarized data table, displaying the Contact Owner measured by Total SMS Sent Qty [Total]
Try Sakari's SMS Marketing Platform for FREE
Ready to transform the way you communicate with your customers? Start your 14-day free trial with Sakari today and experience the power of seamless SMS messaging at your fingertips.
No credit card required, just immediate access to all the tools you need to enhance engagement and drive results.
You might also like


Award-winning performance