
Adam Horsman

How to Setup a HubSpot Bulk Text Messaging Workflow
1. HubSpot Account
2. Sakari SMS Account
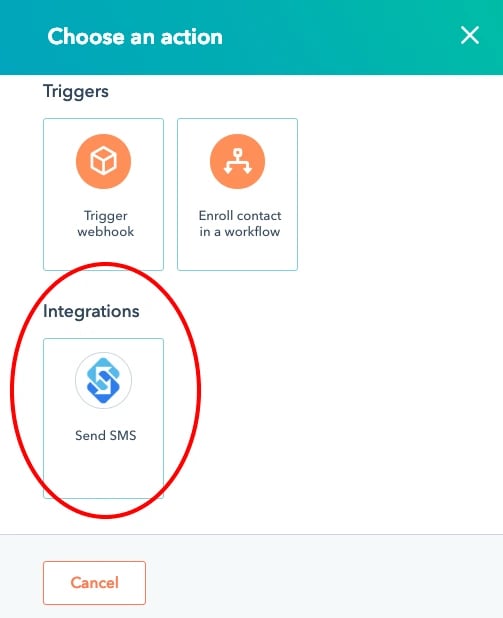
Sakari is the text messaging service we will use to send the text messages. If you don’t already have an account, you can sign up for a free trial of Sakari here: https://sakari.io/signup/
3. Link Sakari and HubSpot
Follow this setup guide to link Sakari to your HubSpot account: HubSpot SMS Setup Guide
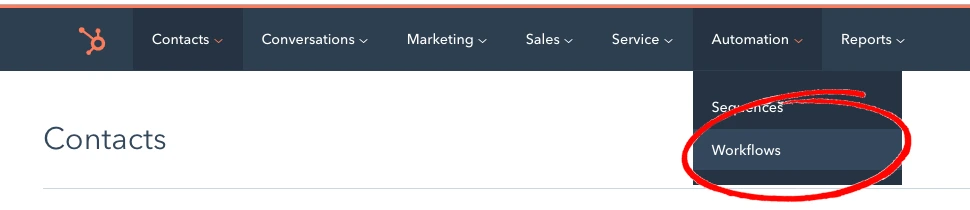
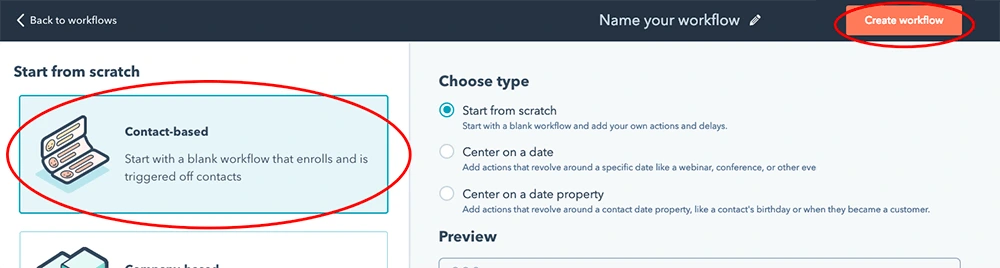
HubSpot workflow selection
Now we’ll give the new workflow a name. Click the white pencil icon to give your new workflow a name. For our example, we’re going to call it our workflow HubSpot Bulk SMS Workflow.
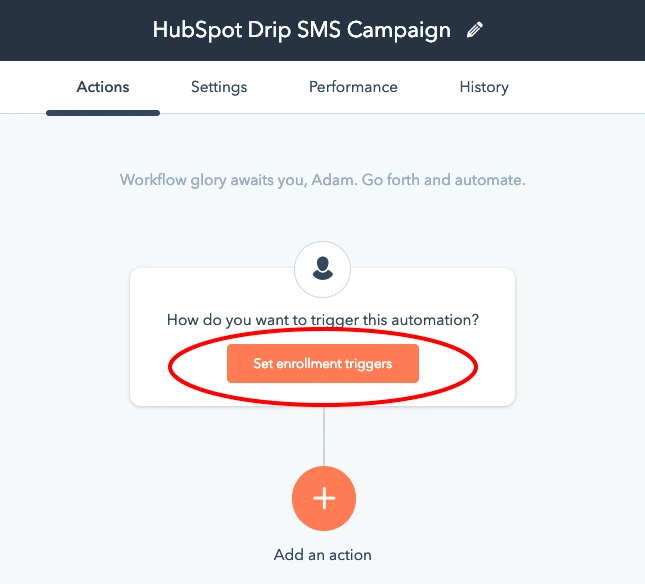
Now we’re going to configure the HubSpot workflow trigger. The trigger is used to define when and who will be enrolled in your workflow. Because we are trying to message hundreds (or thousands) of contacts at once, we are going to enroll a list of contacts.


Try Sakari's SMS Marketing Platform for FREE
Ready to transform the way you communicate with your customers? Start your 14-day free trial with Sakari today and experience the power of seamless SMS messaging at your fingertips.
No credit card required, just immediate access to all the tools you need to enhance engagement and drive results.

Award-winning performance