
Adam Horsman

Appointment reminders are one of the most valuable features of A2P SMS. They save companies and customers time and money. If you use the HubSpot Sakari integration, setting up SMS reminders can be challenging.
However, with this tutorial, any HubSpot user can text reminders to their customers, employees, and clients.
Why Use SMS Reminders?
In a study on missed appointments, half of the participants didn’t show up because they forgot. One participant noted that life is chaotic: meetings, events, and other obligations ensure a convoluted and full calendar. Phone calls had little effect on solving the issue.
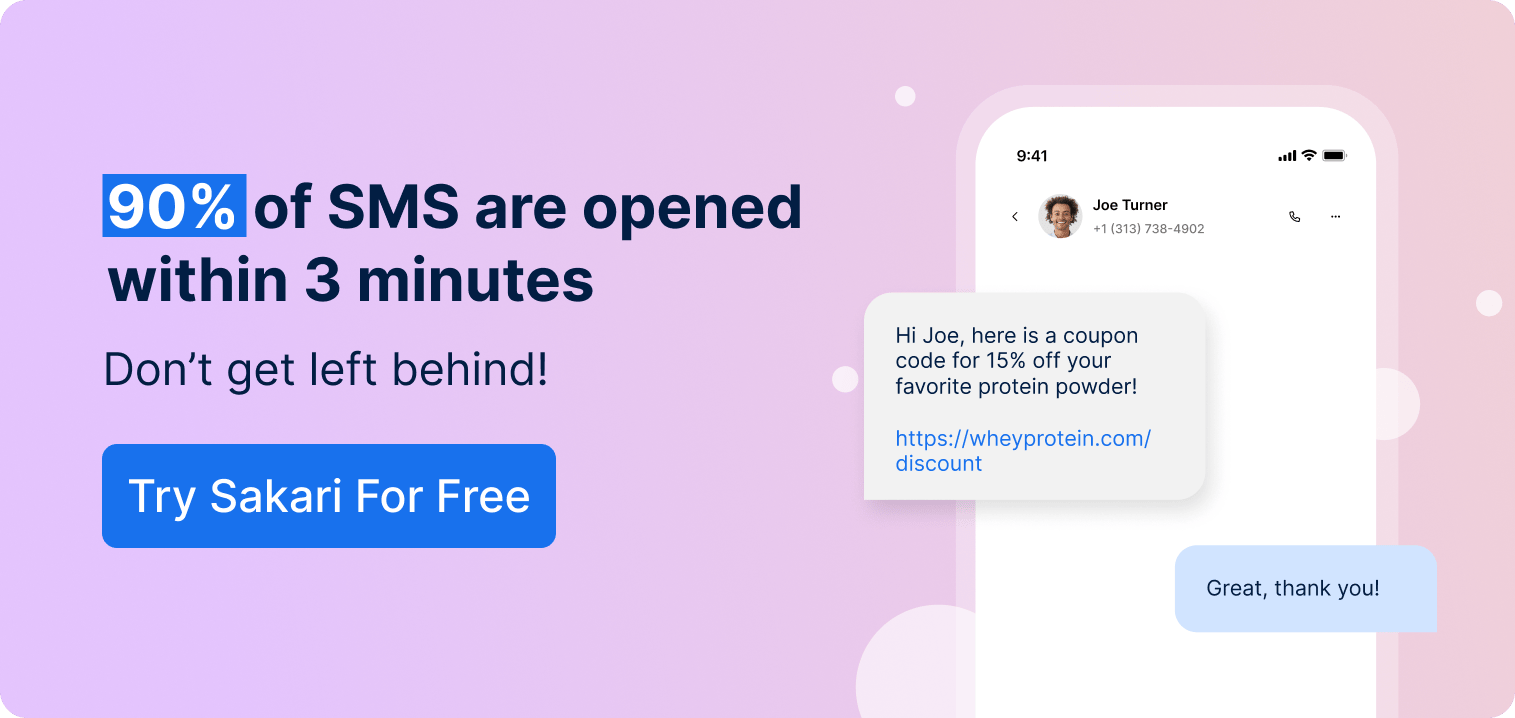
Enter SMS reminders. Unlike phone calls and email reminders, texts have a uniquely high open rate of 98%. Moreover, most people open texts within 45 minutes. This may be due to the consent requirement of A2P SMS (opt-ins) or because people simply like the format. Regardless, a well-timed SMS reminder can be the difference between a client remembering or an open time slot.
Best Practices
Before we start sending SMS reminders, let’s talk about best practices. Following them is essential to making appointment reminders effective and valuable.
Send appointment reminders 1-3 days before the event. This ensures that it’s soon enough to make them helpful but not so far away that they are forgotten about.
Only send one. Appointment reminders should be a convenience, not a nuisance. Once SMS reminders become too numerous, they’re annoying and start getting ignored.
Keep the language concise and to the point. An appointment reminder should remind the reader, mention the appointment time, and indicate the location (if necessary). Anything else can make the text cumbersome.
Don’t forget opt-ins. Opt-ins are required for appointment reminders, just like any other SMS campaign. Read our SMS Opt-Ins and 6 Great Ways to Get Them article on gathering opt-ins for more details.
1. Navigating to Workflows
With the Sakari HubSpot integration, automated texts are programmed using workflows. This tool allows a visually accessible way to declare events and responses to those events. Even better, it’s easy to change them if needed.
- Login to HubSpot. Make sure the Sakari SMS integration is installed if you haven’t already done so.
- Click “Automation” and then “Workflows.” This brings us to the workflows page.
- Click “Create workflow” and then “From scratch.” Now we’ve got a few options to select before we can.
- Click “Contact-based.”
- Click “Contact date property” and then select your preferred property. At Sakari, we like to be accurate, so we’re using “Appointment Date.” Note that HubSpot will offer to create a “Delay until date” action for you. Going forward, we assume you didn’t let it, as it only saves a step. Regardless, click “Next” at the top-right corner.
A new page should open. Now, we can finally start programming our appointment reminders using HubSpot workflows.
2. Configuring Triggers
In this stage, we will set a series of “triggers” and “actions.” Triggers are events that trigger an action response. In this case, the trigger will be a variable change. For another example, SMS features like autoresponders have their own triggers, like getting texts with specific keywords.
- Click “Set up triggers,” then “Contact property,” and finally, “Appointment Date.”
- Click “Is known” and “Apply filter.” This means the workflow will start when the “Appointment Date” changes.
- Click the “+“ button under “Set up triggers.” This allows us to define actions and when they start and stop. If you allowed HubSpot to create it for you, click the box.
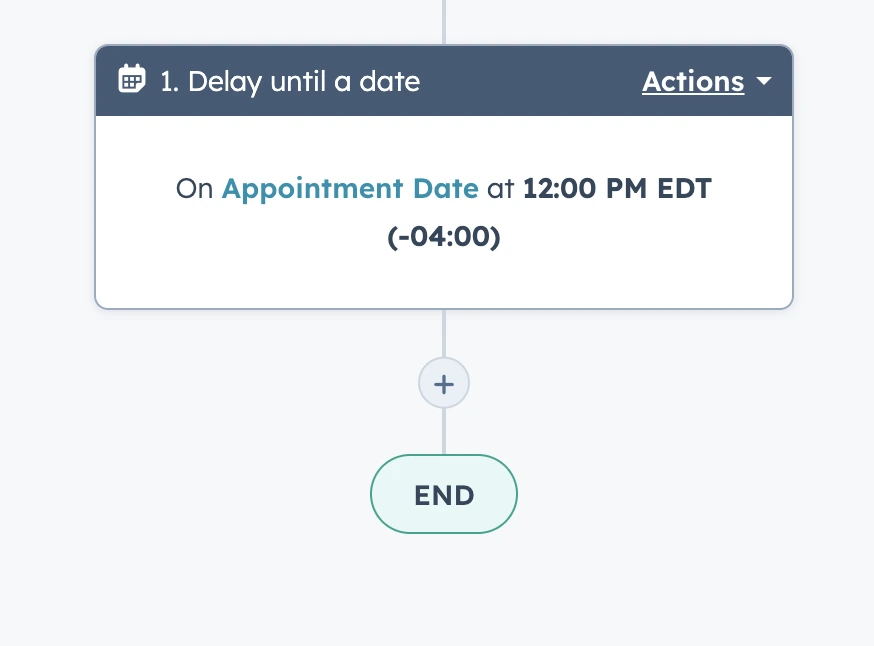
- Select “Delay until date” in the “Delay” category.
- Make sure to select the following options.
- Under “source of delay,” select “Contact date property.”
- Under “perform this action,” select “Before date.” We recommend somewhere between 1-3 days.
- Under “Time of day,” pick an appropriate time. Note that HubSpot uses the timezone used in your account settings, so make sure it’s up-to-date.
- Click “Save.”
Congratulations, a good chunk of the setup is over! Next, we’ll be setting up the appointment reminder SMS.
3. Declaring an Action
HubSpot is capable of a wide variety of actions. The Sakari integration allows it to send SMS messages, which is what we’ll tell it to do.
- Click the “+” sign under “Delay until a date.”
- Under the “Available actions” tab, search for the “Sakari SMS” category and click “Send SMS.”
- Fill out the required fields to create the appointment reminder message template. It’s a good idea to read our Understand the HubSpot “Send SMS” Workflow Action Options article for a more detailed explanation. For the next few steps, we’ll go over them regardless.
- For “Phone Number,” click “contact token.” A contact token is a group used as a single value. In this case, it’s going to be phone numbers. Next, click “select token” and then “Mobile Phone Number” and “Phone Number.”
- For “Message,” write the appointment reminder message.
Pro Tip: Use contact tokens to personalize the message. It gives the reminder a friendly touch.
- Under “Messaging type,” set it as “Transactional.” This ensures the appointment reminder won’t have unnecessary text. Its counterpart, “Marketing,” simply adds a suffix to the message.
- Leave “Media,” “Run As,” and “Additional Contact Owner Attributes (JSON)” empty. Appointment reminders don’t generally need images or advanced info. While “Run As” isn’t necessary for most companies, those using multiple phone numbers should select the appropriate sender. Read this HubSpot Run As Workflow Field article to learn more.
- Click “Save.” Your action is in the workflow, and the HubSpot SMS reminder program is set!
- Click “Review and publish.” This will take you to a new page. Check your work and make sure it’s correct.
- Click “Turn on.”
Congratulations, you’re finished! The automated HubSpot appointment reminder system is set up and ready to go.
Leverage SMS Reminders and More with the Sakari HubSpot Integration
Appointment reminders are only one of the many capabilities Sakari has to offer. Our A2P SMS platform provides functionalities like two-way texting, autoresponders, MMS, and beyond. Integrations with HubSpot, Pipedrive, and other software platforms further enable any company to push communication to the limit.
Want to learn more about Sakari? Book a demo with us today for a hands-on tour.
Try Sakari's SMS Marketing Platform for FREE
Ready to transform the way you communicate with your customers? Start your 14-day free trial with Sakari today and experience the power of seamless SMS messaging at your fingertips.
No credit card required, just immediate access to all the tools you need to enhance engagement and drive results.

Award-winning performance